Hiya bloggies!
For our third nails tutorial, I decided to make things super easy. In addition to being easy, this tutorial is also really versatile, making it perfect for everyone, no matter what your preference!
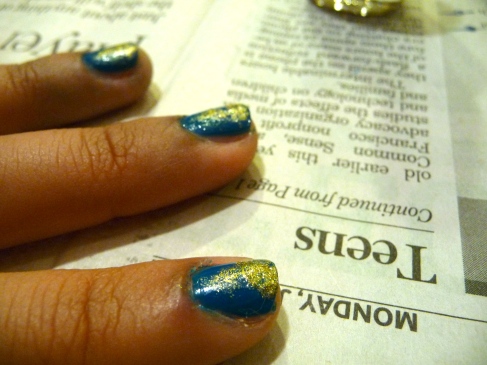
To give some basic information, the design above is based on the simple idea of contrasting opposite or nearly opposite colors on the color wheel to get a nice pop on your nails. However, I took it one step further by not only using contrasting colors, but also adding different textures of polishes (matte and glitter) as well as some interesting shapes.
Here’s what you’ll need: two contrasting colors of nail polish (I used a matte deep blue from L.A. Colors and a glittery gold from Milani, both procured at my local drugstore), a couple of Q-tips, and, in my case, some nail polish remover.
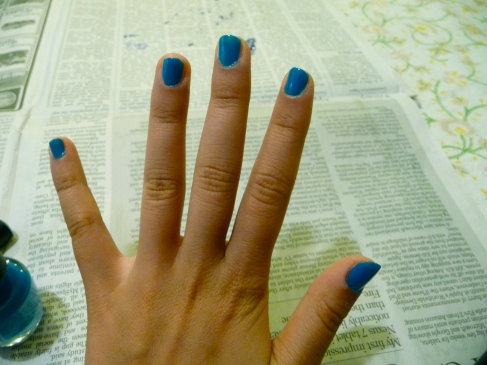
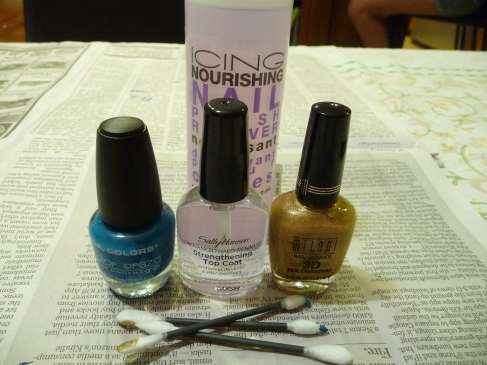 To start, I just painted two coats of the blue matte polish onto all of my nails. As always, make sure to let the first coat dry before painting on the second. Depending on how opaque your polish is, you may want to do more than two coats.
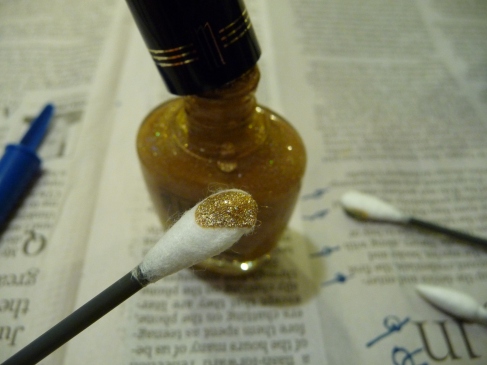
After, I took out my Q-tips and painted some gold polish onto the end of the Q-tip.
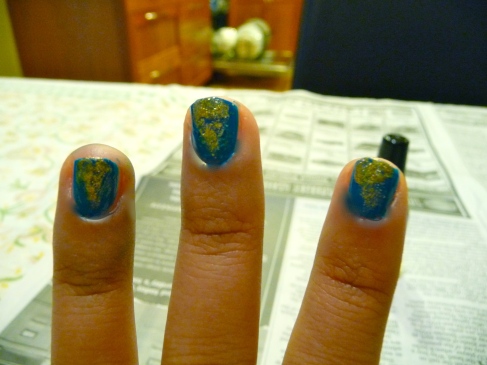
Then, using the Q-tip, I just dabbed the polish onto each nail in an inverted triangle shape. If I did too much gold, I just added some blue over it until I got the look I wanted. See the picture below!
As you can see, my painting is kind of messy, but it didn’t matter because afterwards I just took another Q-tip dipped in nail polish remover and dabbed at the messy paint parts until they disappeared! :)
Hope you enjoyed this new post, and remember that you can and should take this idea and make it your own with your own polishes!
Much love,
SEM
